WonderWoman
-
Posts
109 -
Joined
-
Last visited
-
Days Won
5
Content Type
Profiles
Forums
Gallery
Blogs
Events
Articles
Store
Downloads
Everything posted by WonderWoman
-
The ninth keel section, with holes, I'm guessing for the wiring to come through

-
Main gun accessories and and attaching the hangers to the deck Nice to see some detail nbeing added around the main gun barbette - it was looking a bit bare! Then some more of those little breakwaters But I did forget to add couple more components around the barbette before adding the breakwaters, but easily remedied! ...and here are my two completed hangers (at last) Don't they look great in place!
-
Catwalks on the hangers I found blunt-ended tweezers best for bending the tabs on the catwalk - takes a bit of trial and error to get them lined up correctly. ...but only a small amount of glue was needed to hold them in place: I found that putting a bit of glue on the cradles and then lowering the catwalks on to be a better option than gluing the catwalks themselves. Two lovely hangers is stage complete. Looks like the hull part is kept for later
-
This final stage is the construction of two of the aircraft hangers. Firstly adding on doors, lockers, vents....etc! I did both hangers before going on to the boat cradles Roof cradles were next , and then its not only Stage complete, but Pack complete! On to Pack 8 next!!!
-
Here's a quick stage.... ...but it gives me the opportunity to show the ever-extending hull construction!!! (judging by the shape I'd guess not half way yet?)
-
Loads more detail for the funnel, and putting the funnel onto the deck (plus adding the foremast - scroll down for a lovely sunset photo!!!!)! There are 6 lockers for the funnel on this stage which are glued around the deck platform halfway up the funnel. Followed by the steam whistle, and the safety railing that was bent into shape in the previous stage The funnel has two supports for the search light platforms, one on either side, which are metal and take a reasonable amount of bending and gluing to complete the final assembly. Such detail! Now that the funnel is at a reasonably complete stage I can add it the lower deck and then connected the funnel to the section in front with a metal platform which will eventually hold the foremast. Tip: use pliers to bend the ladder support tabs, then glue it together I took these two photos and they randomly came out as if one was n a sunset and the other at night but it was just the flash misbehaving; still, they look pretty! The blurred backgrounds look like clouds or islands with a bit of imagination!!! After securing the foremast in place with the struts and the final railing its stage complete!
-
Another piece of hull (of course) plus some more metal-work Railings attached around ether side of the funnel.
-
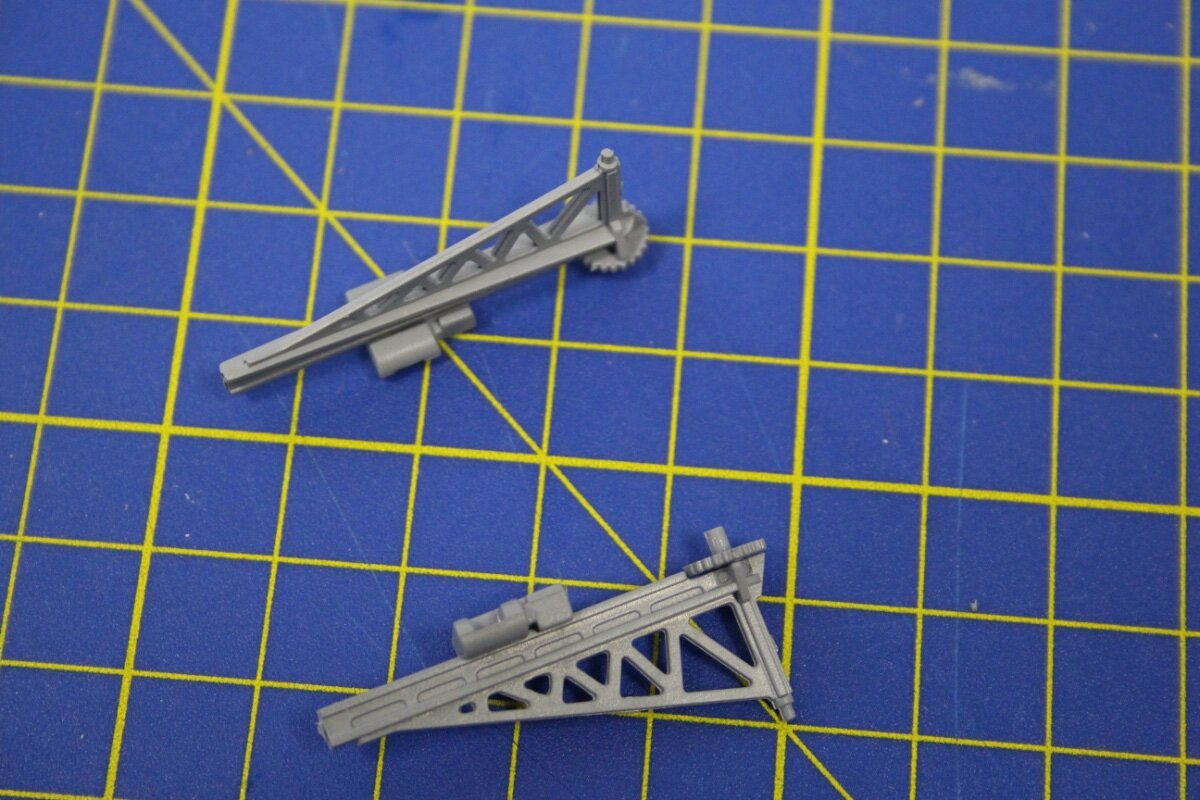
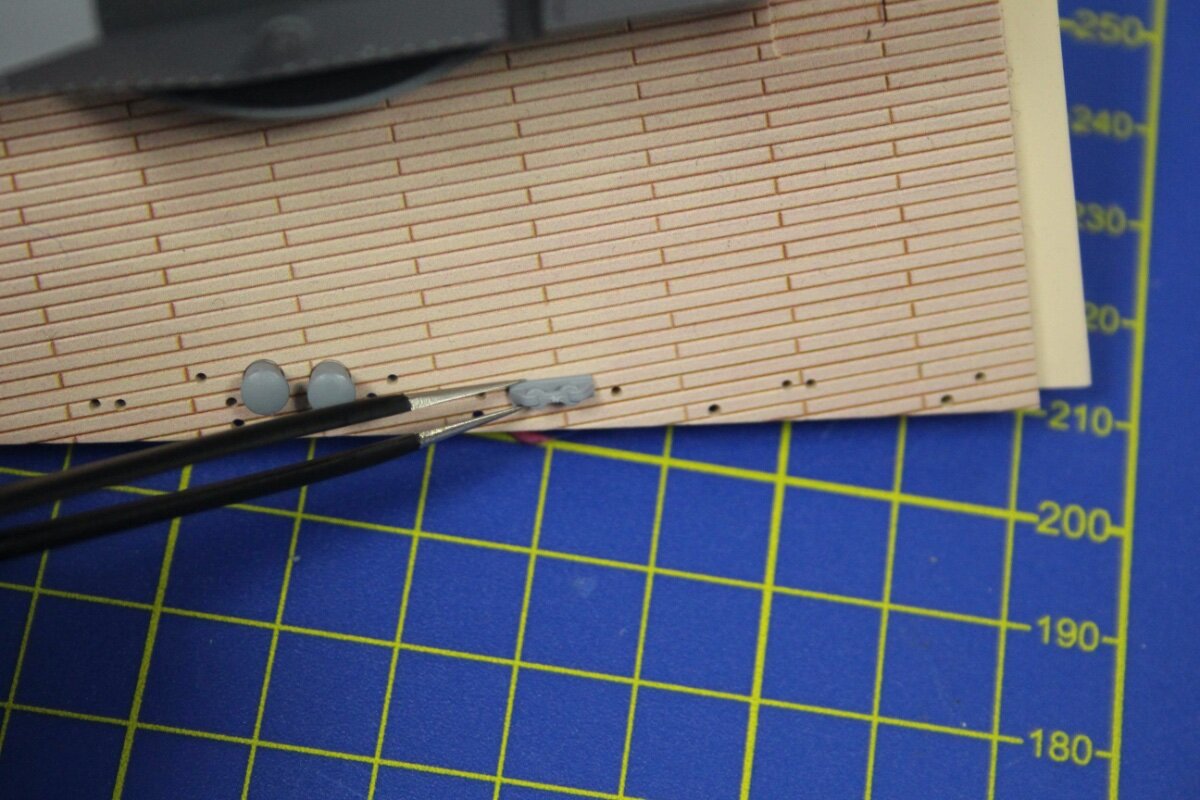
Now for something completely different! We have a 10 rope reels to build. I did the first one in one go, gluing the two halves together and then sticking on the end of rope and winding it around the reel: After that though I found it better to get a bit of a production line going. I could glue a reel together then wind a different one while I waited for the first one to dry. Don't they look great! Then I put them all in place Next step was to create the cranes: and then the swiftly followed by various ladders and hoods.... ...plus the radar antenna
-
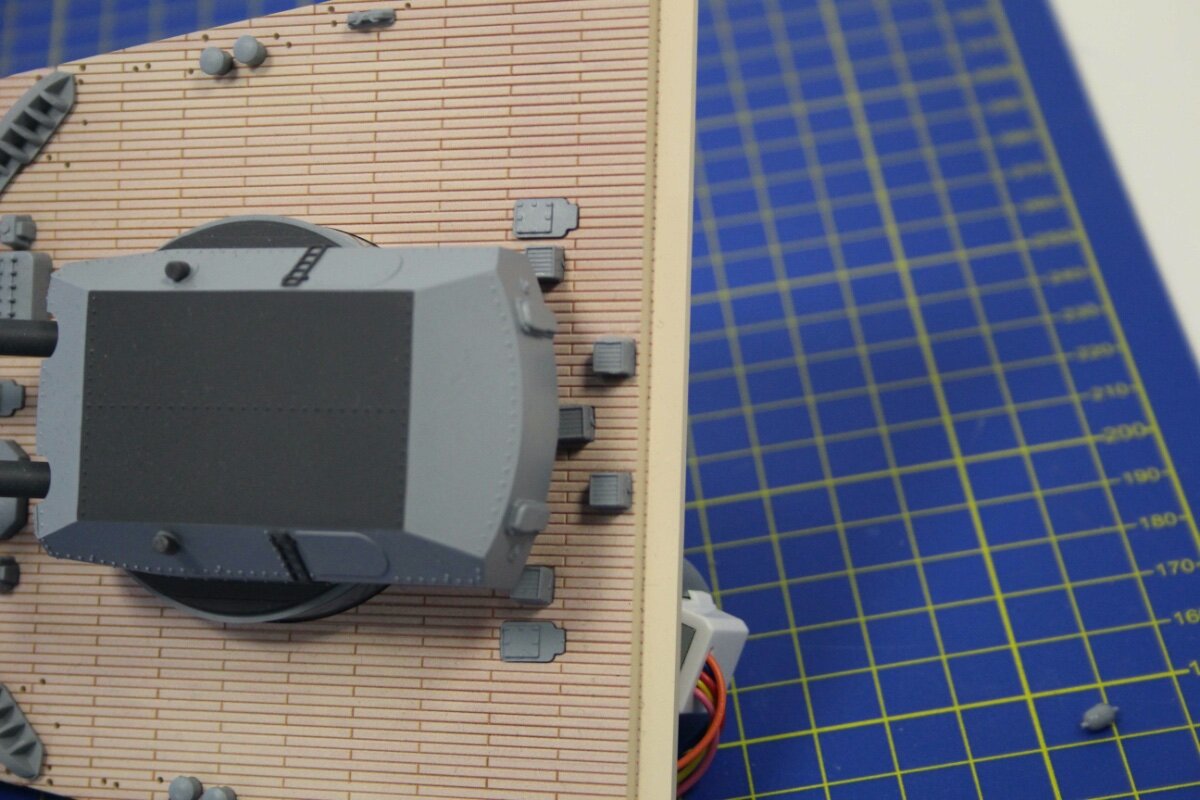
Getting back to some deck detail! but before that, the ever-lengthening hull continues I attached a pair of bollards and roller fairleads to both the port and starboard sides Alitlle bit fiddly to get the next parts in between the main gun, but I was too lazy to plug it in and rotate it out the way! but a pair of tweezers dd the trick Then more parts around the turret, and the final bits I was really thinking I should have rotated the gun turret, but never mind! this is how it looks:
-
final touches.. the gear unit & motors all connected:
-
 Essentially this stage and the beginning of 73 is attaching the list motor and gun in place on the deck And here they all are in place:
-
Gearing up a big gun! The second gear assembly for the main gun follows the same technique as way back in Pack 1. The gear cogs are put in place, then the arm attached (make sure you do it the right way round) and then the housing is all screwed together: Next I put the support legs in place and then attached it to the deck and the gun turret
-
continuing the hull:
-
The fourth and final (for this part) 15 cm gun Adding the range finders first: Actually, once all four are in place its looking pretty impressive, though they are dwarfed by the main gun! and I hope I am going to be able to keep all this wiring in order!!
-
Ts another 15cm gun motor! fitted in place: three down, one to go!
-
Hi all, we have updated the Pack 6 instructions. Particularly, Stage 53 has been amended. So if you downloaded the instructions prior to today (6 Oct 21) please re-download them.
-
The end of the Pack - the half way stage!!! After putting the next part of the hull on, I then put everything I have built so far stacked together...WOW! And here is a short video: https://emea01.safelinks.protection.outlook.com/?url=https%3A%2F%2Fwww.instagram.com%2Freel%2FCTzfubgoKBD%2F%3Futm_medium%3Dshare_sheet&data=04|01||4871625d435a4ed0243508d97791db4a|84df9e7fe9f640afb435aaaaaaaaaaaa|1|0|637672290603838657|Unknown|TWFpbGZsb3d8eyJWIjoiMC4wLjAwMDAiLCJQIjoiV2luMzIiLCJBTiI6Ik1haWwiLCJXVCI6Mn0%3D|1000&sdata=Y41lnVltNnTp42c7qptUVDlx4ia%2B79lMvfwuD2emZsQ%3D&reserved=0
-
The next 15 cm gun. This gun is similar to the previous two except that it also has a range finder installed to the turret. The mechanics under the deck follow the same principle as the others, with a switch to reverse the direction (other wise it would just spin round and round! now the deck is starting to look pretty fearsome!
-
More hull...
-
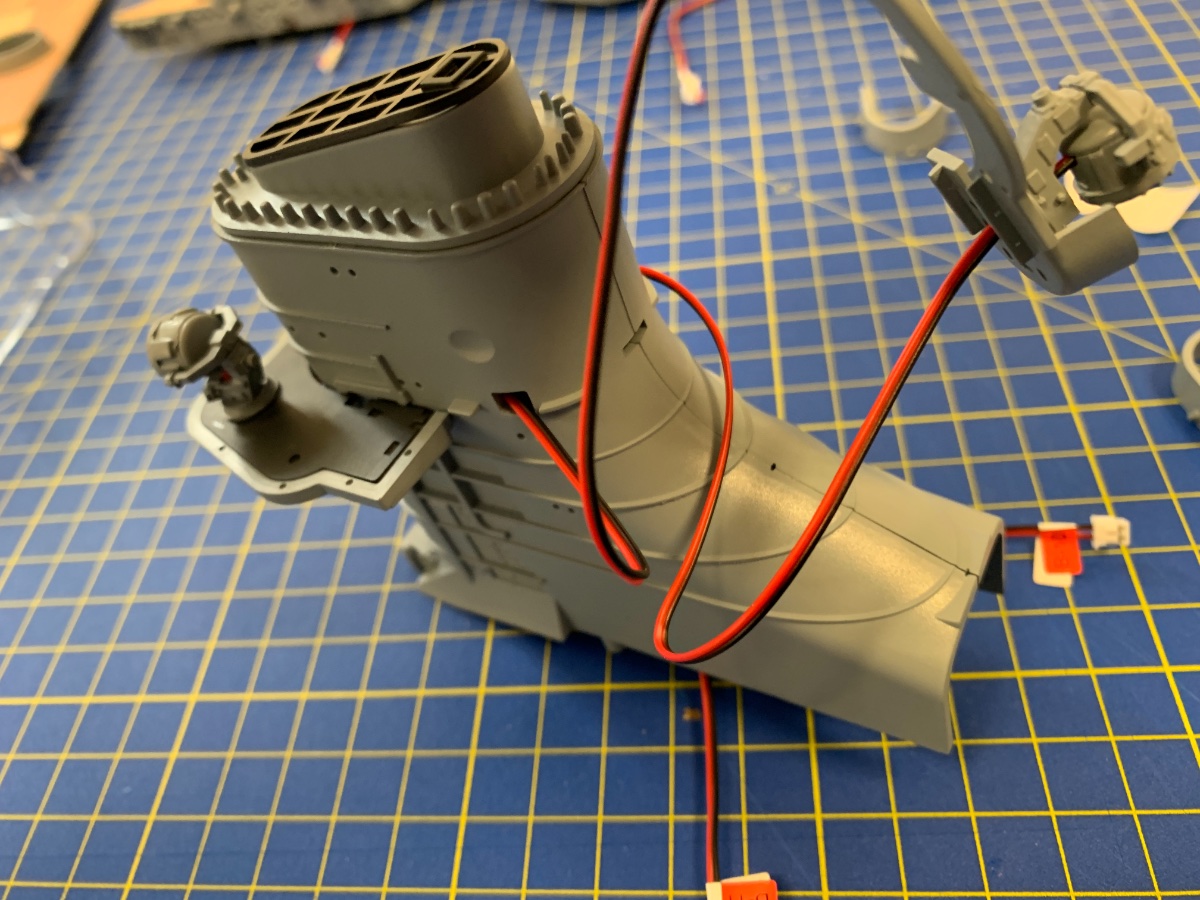
Two more searchlights I will skip through the build of these two, as I have made identical searchlights in the previous stages Before attaching the searchlight platform I glued on the small funnel extension Threading the searchlights cable through the funnel is easy enough. I found it helpful to pull the wire from the bas of the funnel to feed them all the way so that the searchlight platform can then be glued onto the funnel. When I put the first of the hoods, I only glued the bottom of the part where it attaches to the platform. This then left a gap at the top, so it is better to also add a touch of glue to the top of the hood so it can be pressed and secured flush to the funnel.
-
Pushin' in those turret housings - quick an easy stage this one!
-
Adding the second gun motor and making two searchlights The motor from stage 61 is connected in the same way as the previous one, and the finished mechanics look like this: The top of the funnel comes in three parts, which once assembled I then glued to the funnel itself: The two searchlights are identical and similar to the one made many packs ago, so once I got into the swing of things they are quite quick to assemble The finished platform was then slid around the funnel and a dab of glue keeps it all secure. Make sure that the wires are flat when you feed them through otherwise they tend to jam up and prevent a close fit. Its another two of those un-named 'frames' on the sides of the command post and its stage complete!
-
the next 15 cm gun and sorting out the problem platforms Once you have done one 15 cm gun turret, the next few are a doddle! But now back to the two platforms. Here is the second one built, and then when I tried to attach it to the ship I realised the first one was To recap from the previous stage, the image on the left below is how I ended the stage as you can now tell, the platform has the triangular horizontal part pointing 'inwards' to the ship, when in fact it should have been pointing outward. This became evidently clear with the second platform as it crossed over the first! The image on the right is the corrected build with the orientation of the two platforms correct. It was a simple process of breaking off the first platform and switching it from one side to the other... Next, I glued the two parts of the funnel together - something you can't really et th wrong way around!
-
Im combining these two stages as they are two bits of hull with some more metal detail The antenna fits easily into the roof of the radar. Then the next part rests over the railings, they don't say what this part is but looks like some sort of receiver/antenna to me. Well, I did the next bit of detailing, bending it in place and then glueing it against the structure,. I will show you a photo of what it looked like, but I then found in the next stage I had built/fitted it incorrectly, I guess I must have bent the railings down instead of up. Not very clear on the instructions, so take care. You will see the error clearly on the next stage.... (though the fix was easy!)
-
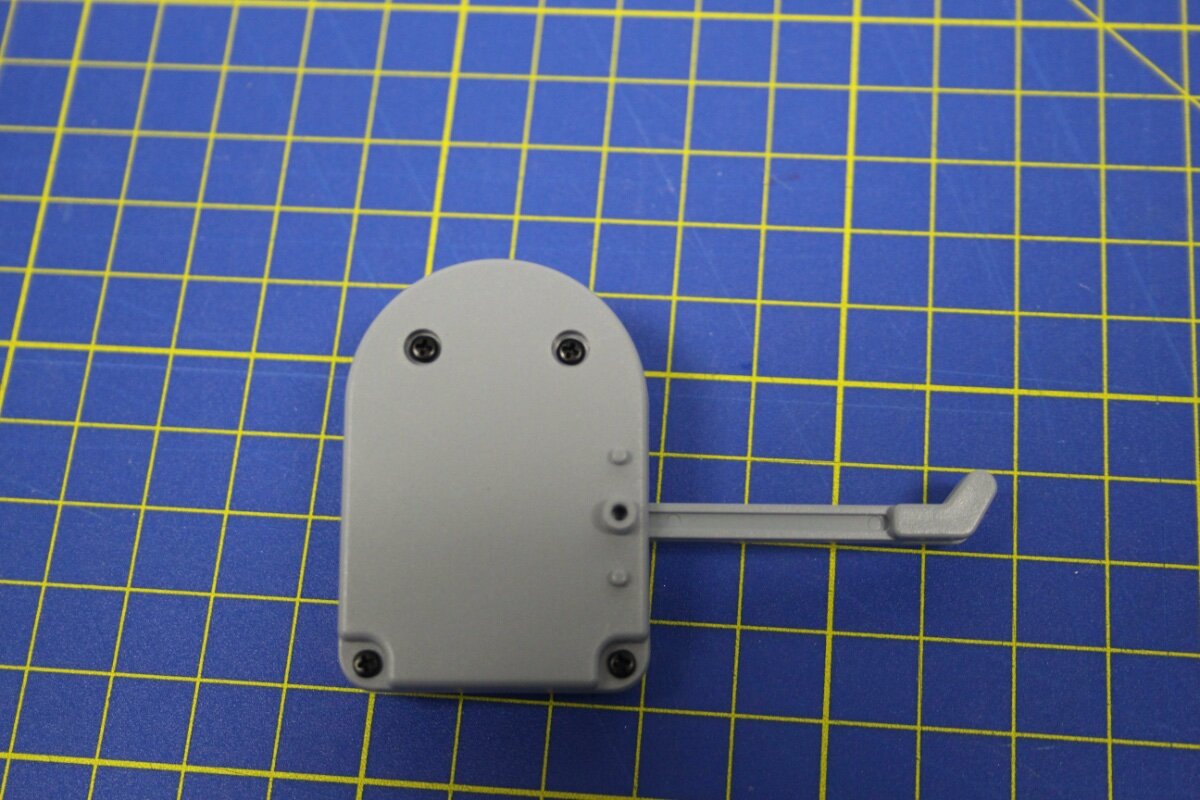
Adding the motor to the 15 cm gun turret Nice straightforward stage this one. Simply put the motor in place and screw over the housing that holds it in place Looking good!